


(Photography by Tom Wood)
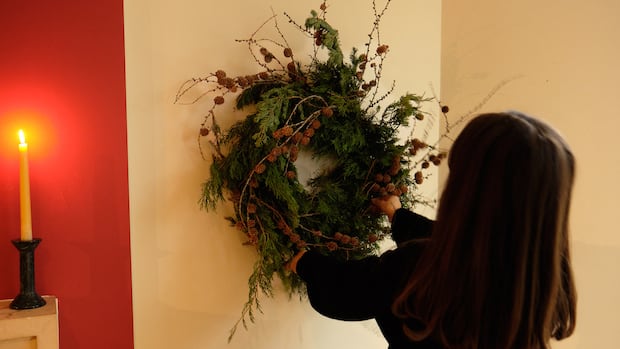
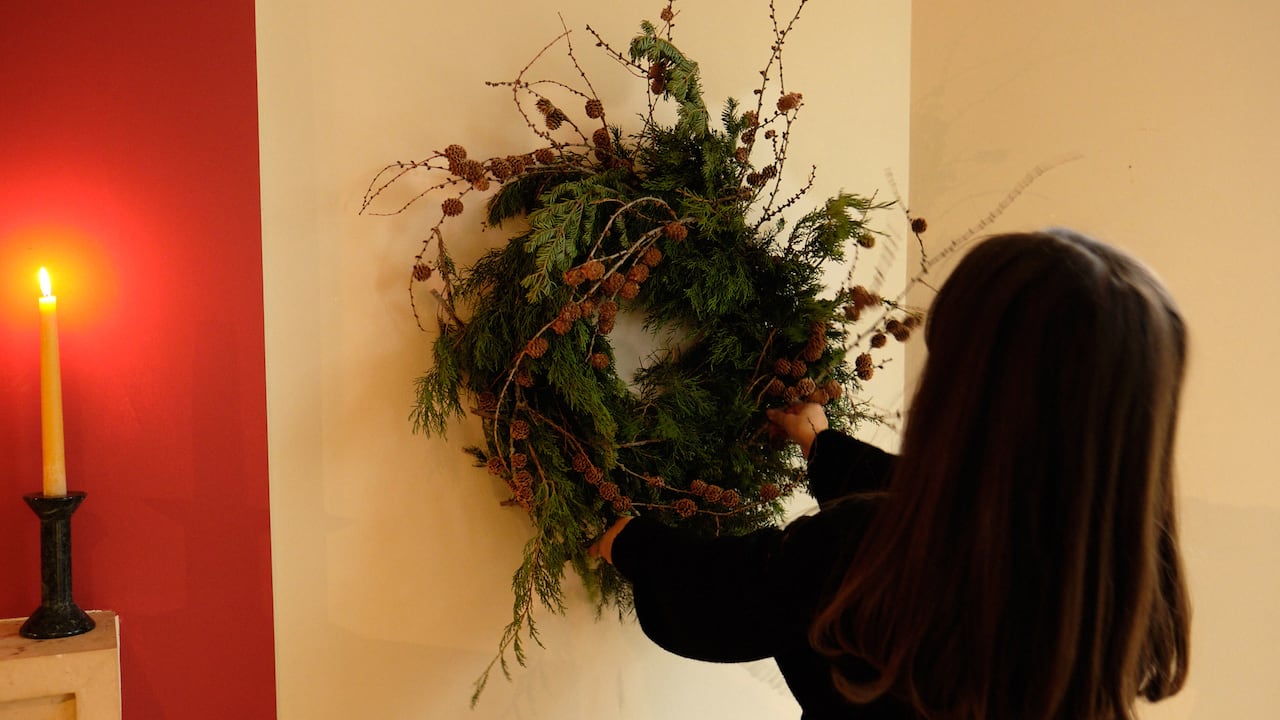
A wreath can embody various meanings simultaneously: a way to express oneself, a collaborative project with a friend, or a meaningful present. It serves as a festive emblem that encourages creativity and lacks strict guidelines.
In this piece, we explore the creation of a wild, foraged wreath. However, it’s important to note that most of the materials listed below can be sourced from your local florist.
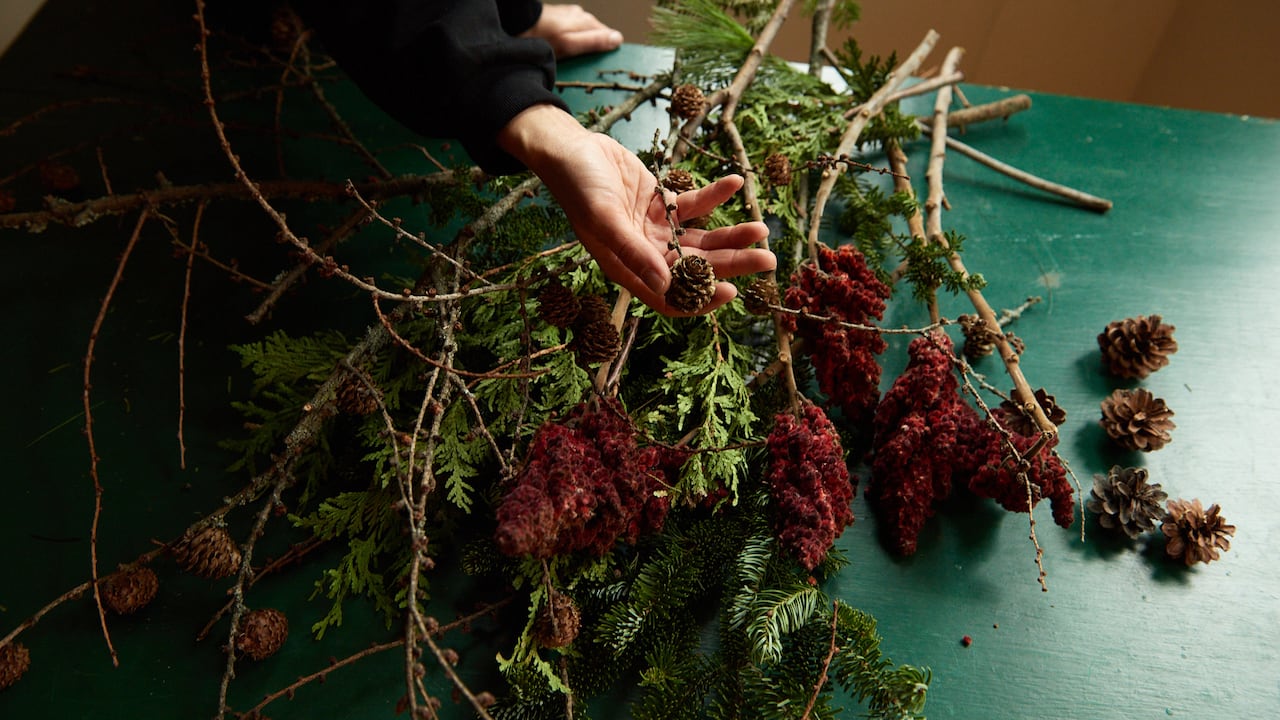
For the greenery, I opted for pine, cedar, sumac, and tamarack.
December is my favorite month for outdoor excursions. The variety of evergreens and plant life available, along with treasures found on the forest floor such as moss and pine cones, is plentiful.
The initial phase of foraging is about being present. Take the time to immerse yourself in the surroundings, observing and engaging with nature. This experience should be enjoyable and unhurried. I prefer to stroll with a pair of clippers, trimming just enough to avoid damaging the tree or shrub. Foraging invites a sense of mindfulness and presence. I often think that the materials do not merely come to me, but rather, I discover them.
(Photography by Tom Wood)
(Photography by Tom Wood)
Here are several tips for winter foraging:
- Ensure you are warmly dressed; long underwear, layers, and insulated boots are recommended.
- Bring along a comforting hot drink.
- If feasible, consider bringing a dog for company. I often take my dog Pascal with me.
- Select a pair of clippers capable of cutting through thicker branches.
- Carry a bag or basket along with twine for bundling.
- Always obtain permission from the landowner before taking any materials.
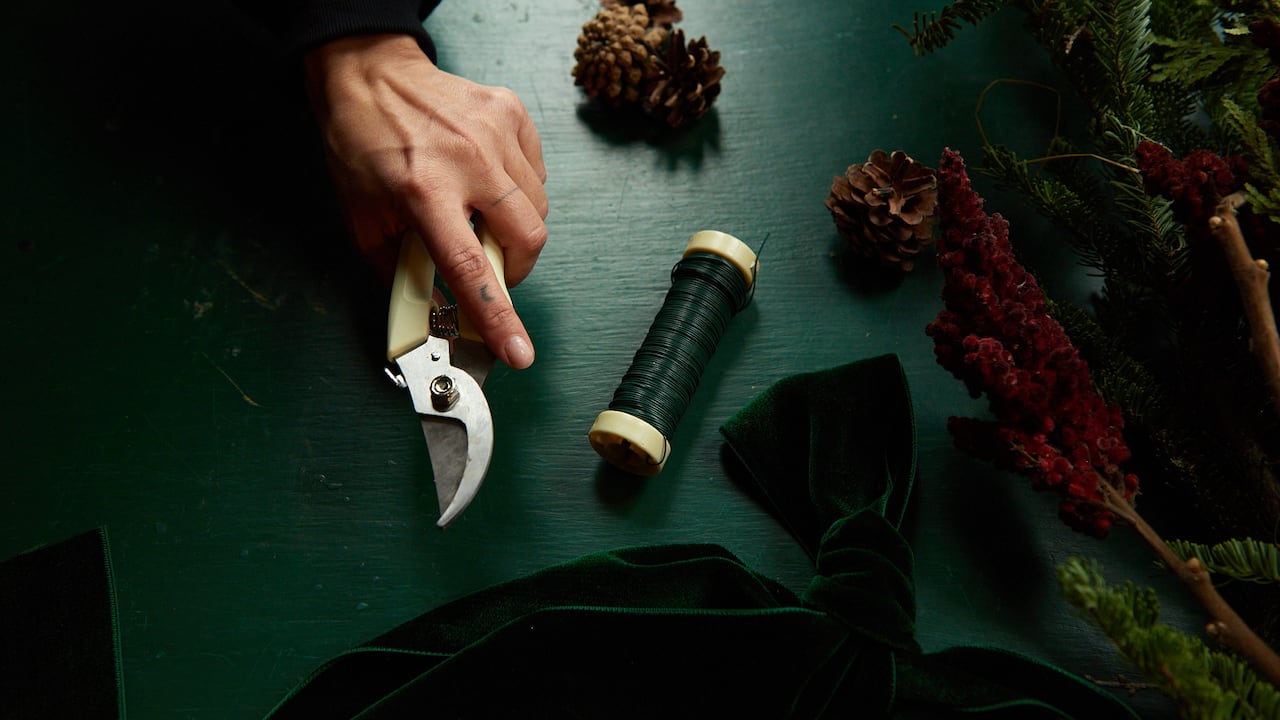
After gathering all your supplies, it’s time to create your wreath. Ensure you have these tools ready:
- A pair of clippers.
- Floral wire, which can typically be found at craft stores.
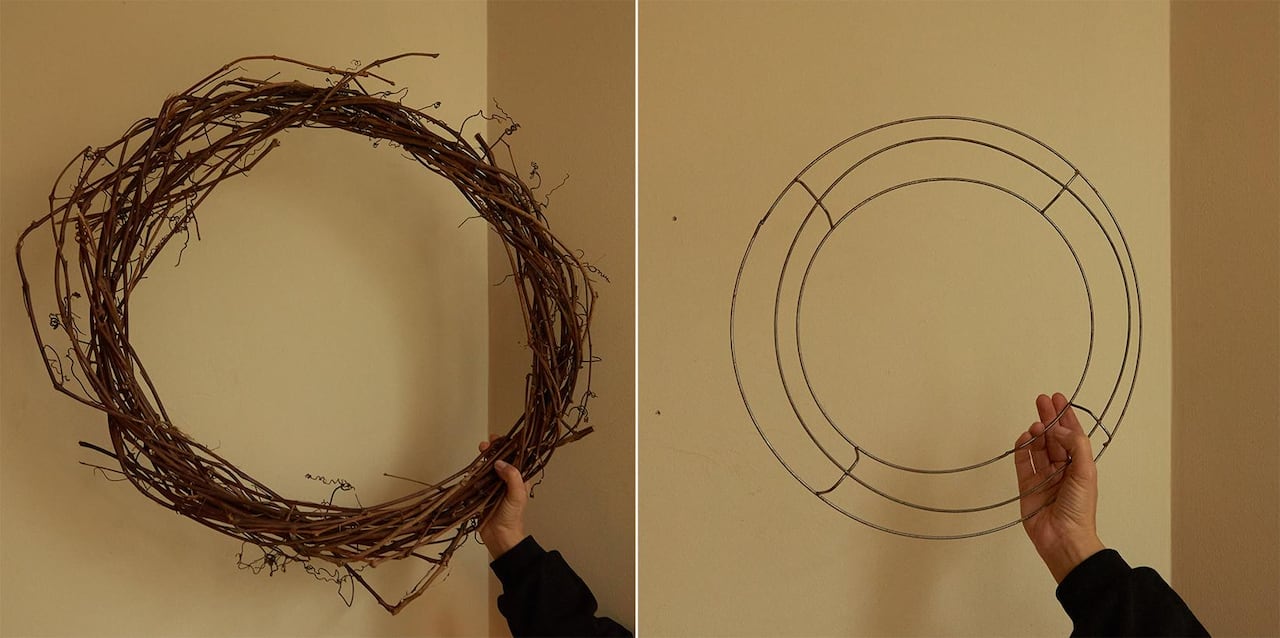
- A wreath frame, either metal or grapevine; your local holiday or craft stores should carry a variety.
- Decorative items such as ribbons, dried fruits, candies, or ornaments.
(Photography by Tom Wood)
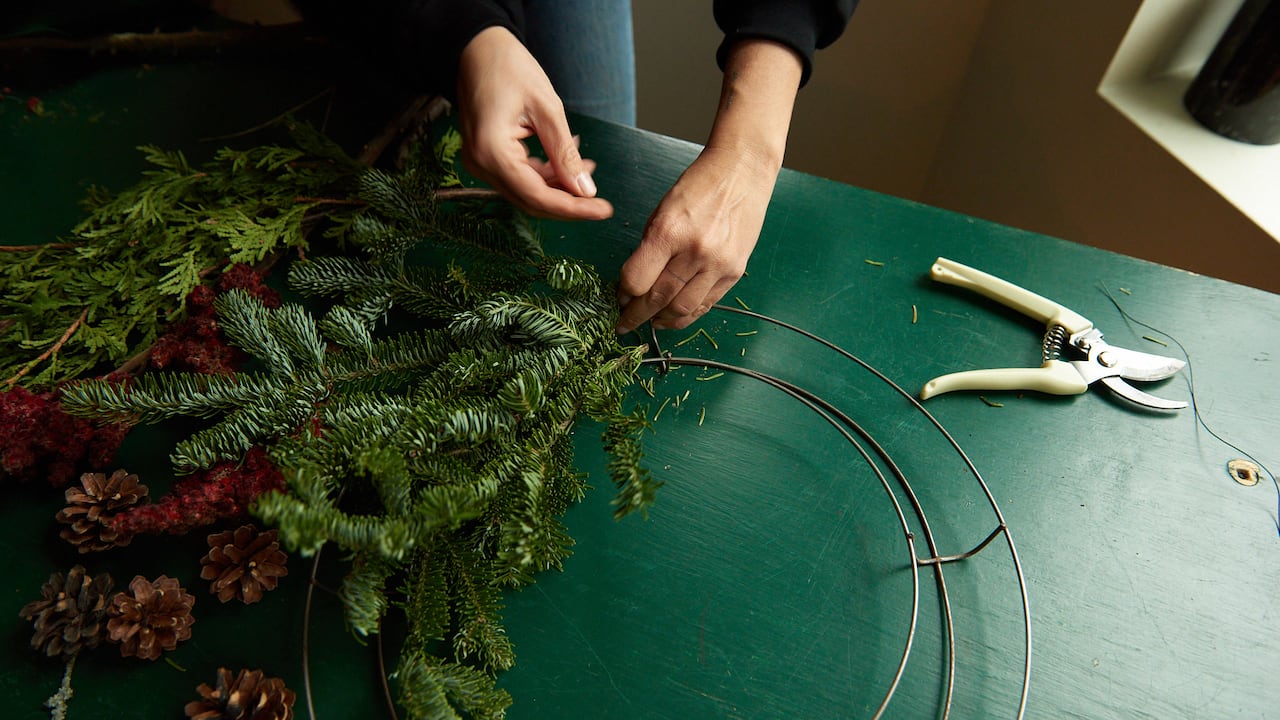
With your materials spread out before you, you’re prepared to assemble your wreath. I prefer to focus on one material at a time, starting with the greenery. Layer each piece and secure it with wire, weaving in and out, experimenting with fullness, and ensuring that each component is tightly fastened as you progress.
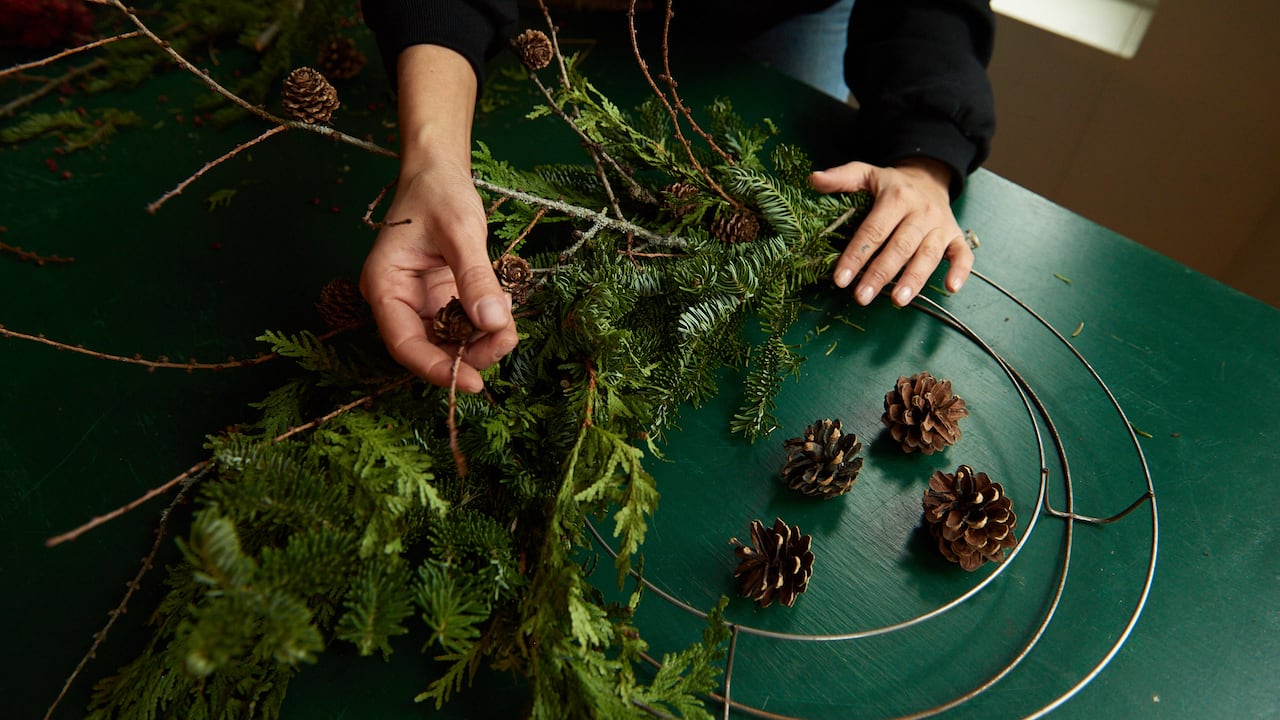
Next, incorporate your second material, whether it’s an additional type of greenery or decorative elements like sumac, tamarack, or pine cones.
(Photography by Tom Wood)
(Photography by Tom Wood)
I enjoy hanging my wreath on a wall while I work on it. Don’t hesitate to extend beyond its edges; there are no restrictions! Embrace a wild approach!
Incorporate dynamic accents that extend outside the wreath’s confines, creating either a clockwise flow or a more random arrangement. This is your chance to trust your instincts.
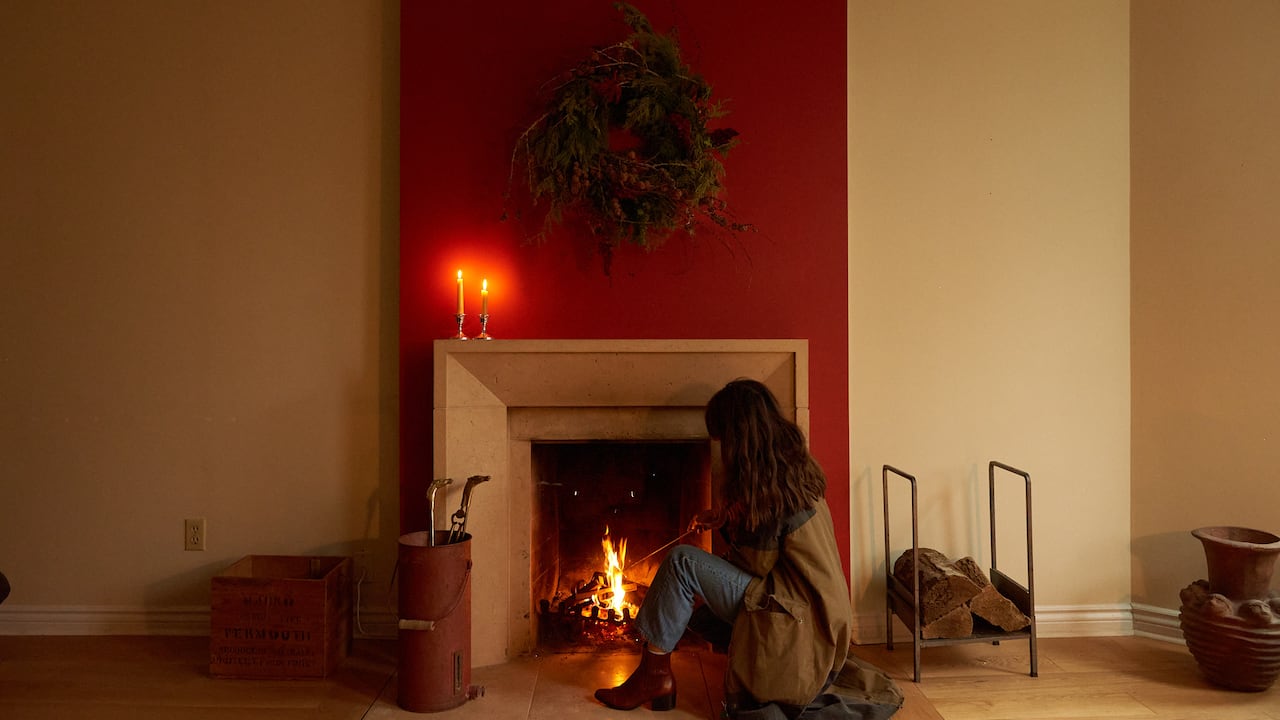
Finally, attach your bows and any leftover decorative pieces. Once completed, place your wreath wherever you like, whether it’s above the fireplace or on your front door, it will add just the right touch of holiday cheer to any area.
(Photography by Tom Wood)

(Photography by Tom Wood)